Connecting to a WiFi Network

The WiFi Docking Station (or WDS) is a charging dock and will also automatically update the firmware of the main unit. In order for the WDS to check for updates it needs to be setup to connect to your WiFi network. You will only need to perform the WiFi connection one time.
Setup the WiFi Connection
Before you begin you will need to know your in-home WiFi network name (SSID) and password, and that you have assembled the AC power adapter. Later in the setup below it will ask you to plug in the WDS in to the AC wall charger.
1. Open the 30K Utility App.
2. Click the menu button and select the “WiFi Docking Station” menu.

3. Follow the instructions on the 30K Utility App to connect your WiFi Docking Station to a WiFi network.
- Connect New Device.
- Connect the WDS to the AC power adapter.
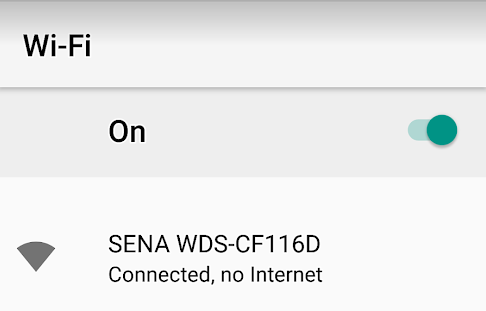
- Go to WiFi Setting and select the network name "SENA WDS-xxxxxx" when it appears. Return to the app after selecting the network name.
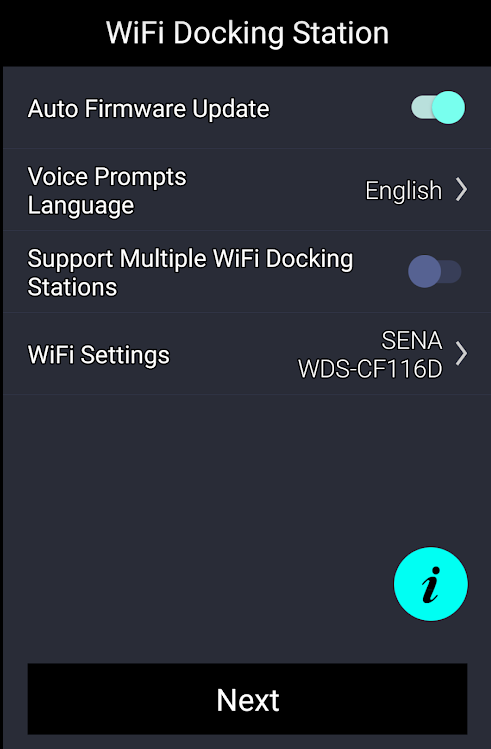
- Verify the settings in app and hit Next to connect to your WiFi network.
- Select your WiFi name from the list and enter the password.

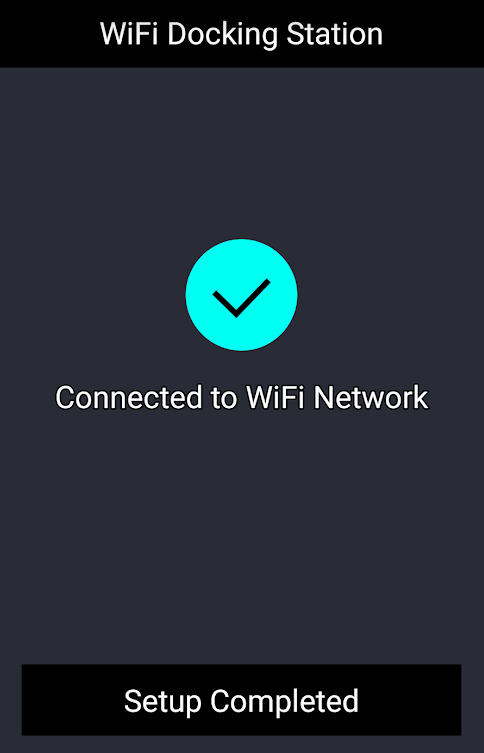
- Setup is completed when you see this screen below and the WiFi LED on the docking station will turn to solid blue

Comments
0 comments
Article is closed for comments.